- AAll products on this website are discounted products, and market prices have been fluctuating. Please refer to customer service quotes for details. Pictures are not actual photos. Before placing an order, please confirm the model, product, price, and other detailed information with customer service. Both second-hand and brand new products are available for sale on this website. Please contact customer service for further communication.
- Spherical surfaces with R/numbers in the range from 11 to 50 are best measured using the converger/diverger series of transmission spheres. The illustration depicts the measurement of a slow concave surface using a diverger. Refer to the converger/ diverger accessory sheet for the range of radii covered by each member of this series.
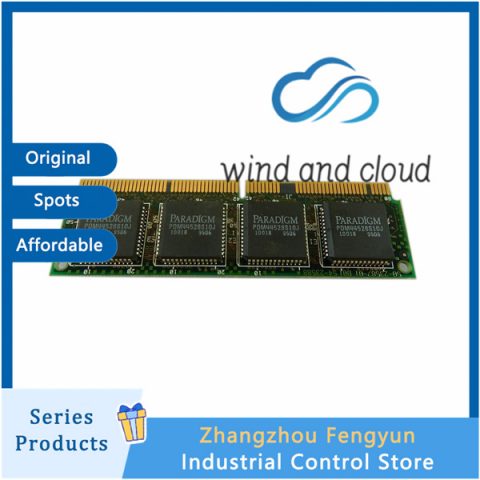
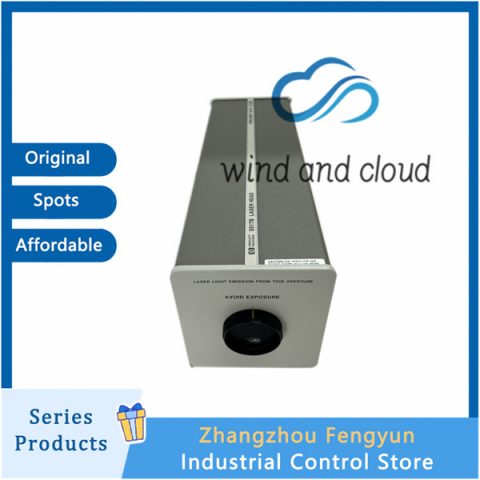
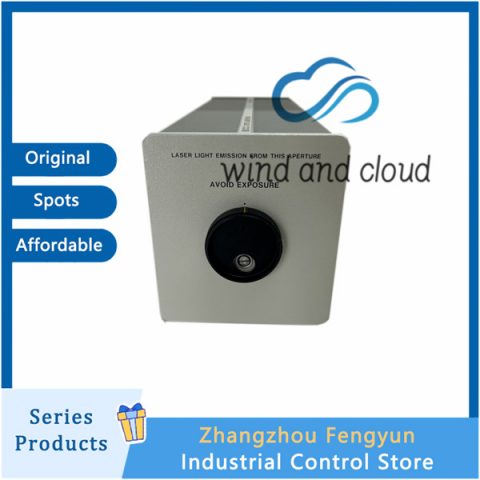
NOVELLUS 02-321865-00|Electrical Component|

- In addition to surface figure and irregularity, the radius of curvature of both concave and convex spherical surfaces can be measured. The center of curvature of the test surface is positioned to coincide with the focus of the spherical wave emanating from the transmission sphere. In this arrangement, shown in the first illustration, the fringe pattern provides information not only about the figure and irregularity of the surface under test, but also about the precise location of the center of curvature of the test surface with respect to the focus of the transmission sphere. The surface under test is then translated along the optical axis of the interferometer until the surface under test coincides with the transmission sphere focus, as shown in the second illustration. The fringe pattern again provides a very sensitive indicator of the point where the surface coincides with the focus.
- The distance that the surface under test is translated, Rs, is equal to the radius of curvature of the surface. A digital radius slide provides a convenient read-out of the translated distance. Used with an encoder, this technique is accurate to 20 µm or 0.1%, whichever is larger. For cases where very high accuracy is required (1µm or 0.001%) an Interferometric Radius Slide is available. Both the encoder and the Interferometric Radius Slide can input these distance measurements directly to the interferometer’s processor to correct for positioning errors. The accuracy to which the radius of curvature of a high quality spherical or cylindrical surface can be determined is not just a function of the distance measurement accuracy. It is also a function of the R/number of the surface being measured, as well as the user’s ability to judge fringe straightness (if the user does not choose to correct for positioning errors). The third illustration shows the equivalent surface figure and irregularity and radius of curvature measurement setups for convex surfaces.
- Particular situations may require an alternate lens/system setup. For lenses or systems with finite conjugates, a transmission sphere is necessary to form the “object” position in front of the lens under test. For systems with apertures larger than the sample beam of the interferometer, or for systems with apertures much smaller than the sample beam of the interferometer, this alternate setup may be advantageous. The alignment of the elements, however, may be significantly more difficult, and errors due to misalignment may be introduced.
- A number of situations may require the use of a different interferometer aperture diameter. For example, a single interferogram does not provide complete coverage when a plano surface, tested at normal incidence, is larger than the interferometer’s aperture diameter. In this case, an interferometer aperture diameter at least equal to the test surface diameter is needed for full coverage with one interferogram. Conversely, very small plano elements can produce interferograms too small to be useful. The Mainframe’s 6X zoom obviates this problem until the elements become very small (< 15mm), at which point the 6X zoom is not enough for the interferogram to appear full size on the video monitor. For these parts, it is helpful to begin with a smaller interferometer aperture diameter. Convex surfaces, which must be placed in a converging measurement beam, may require a larger interferometer aperture. For convex surfaces of large size and/or long radius, it may be necessary to begin with a larger aperture converging beam produced by the appropriate transmission sphere.
NOVELLUS 02-321865-00|Electrical Component|

By structuring the information in this manner, the article provides a clear and organized understanding of input channels, transducer supply, and communication implementations in distributed control systems.
Zhangzhou Fengyun’s main products include ABB, GE, Bently Nevada Bentley, ICS TRIPLEX, Honeywell, Schneider, EPRO, yokogawa Yokogawa, Woodward, EMERSON, Emerson, and Invensys TRICONEX, which have abundant inventory, fast delivery, and reliable quality.

.jpg)

-480x480.jpg)








There are no reviews yet.